A step by step guide to your most believable fake tan
Contents:
As we become more aware harmful UVA and UVB sun raysИ the final cost of tanning our skin in the sun and in solariumsFake tan has become the new tan. Many have become more open to the idea of indulging in self tanning or stocking up on self tanning lotions, serums and sprays that can be easily applied from the comfort of your own home.
If you're still a skeptic, this might help change your mind: According to the American Academy of Dermatology, more and more young people are being diagnosed with skin cancer because of their sunbathing habits, so they're switching to self-tanners. or spray tan is the best option. If that doesn't scare you, maybe the fact that every time you tan on your skin, you age it prematurely, will.
We know fake tan can be intimidating to try and your bad experience with orange, streaked and blotchy skin can haunt you forever, but with some guidance we're fully confident that you can achieve a believable fake tan. Use this step by step guide to get the most believable self tan!
Step 1: choose self-tanner
From gels to foams, sprays, wipes, fade-in lotions and wash-off formulas, self-tanners have come a long way from the striped oranges of the past. What is your first step? Find the best formula for you. Need help? We share some of our favorite self tanners here..
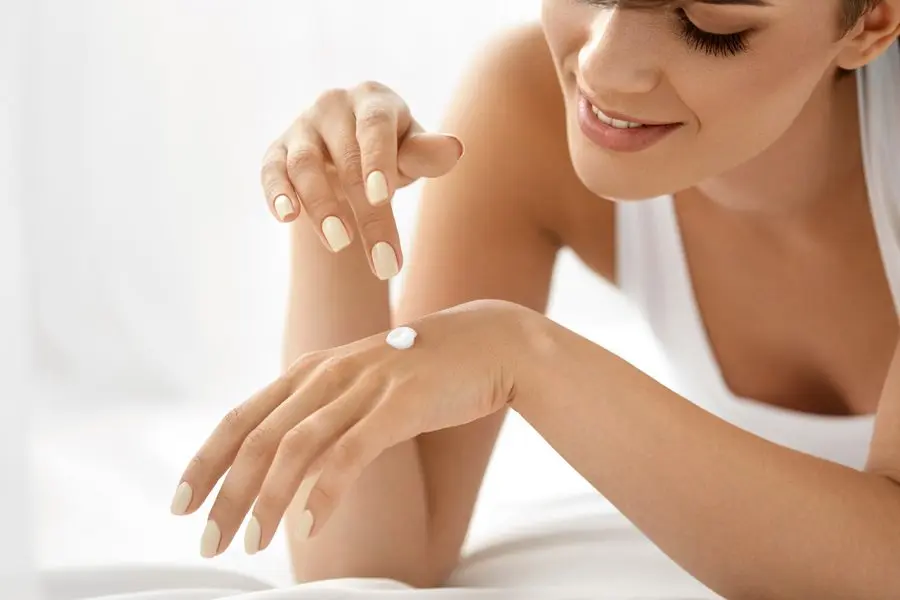
Step 2: Prepare your skin
Next, you need to prepare your skin for self-tanning. One of the most important stages of preparation is body peeling. This can help remove dead skin and soften the skin for a more even tan. Spend more time on very thick skin areas like knees and elbows. Then dry and apply moisturizer to dry skin areas. For more preparation help, see Our Guide to Preparing Your Skin for Self Tanning and Self Tanning.
Step 3: Partition off
The application is the following. For the most even, believable fake tan, invest in a tanning mitt—not only will this help you achieve even coverage, it will also help prevent spots on your palms. Then apply self-tanner in parts, rubbing the formula into the skin in even circular motions. If your formula doesn't work with a mitt, be sure to wash your hands thoroughly after each section.
Step 4: Mix with moisturizer
Your ankles, knees, wrists, and other joints can be tough as they tend to be drier than the rest of our skin, meaning they can absorb too much suntan lotion. Diluting your self tanner with a little lotion or moisturizer can help you avoid this. If this happens, don't worry! We share The fastest way to remove self-tanner - and fix your mistakes - is here!
Step 5: Let it dry
After you finish the application process, you should give your skin about 10 minutes to dry before getting dressed. As an added precaution, try to wear loose clothing and don't sweat or shower for the next few hours.
Editor's tip: If you're wearing self-tanning lotion, for example L'Oreal Sublime Bronze Self Tanning Jelly, you can try mixing a little into your regular lotion and applying daily for a smoother tan.
Leave a Reply