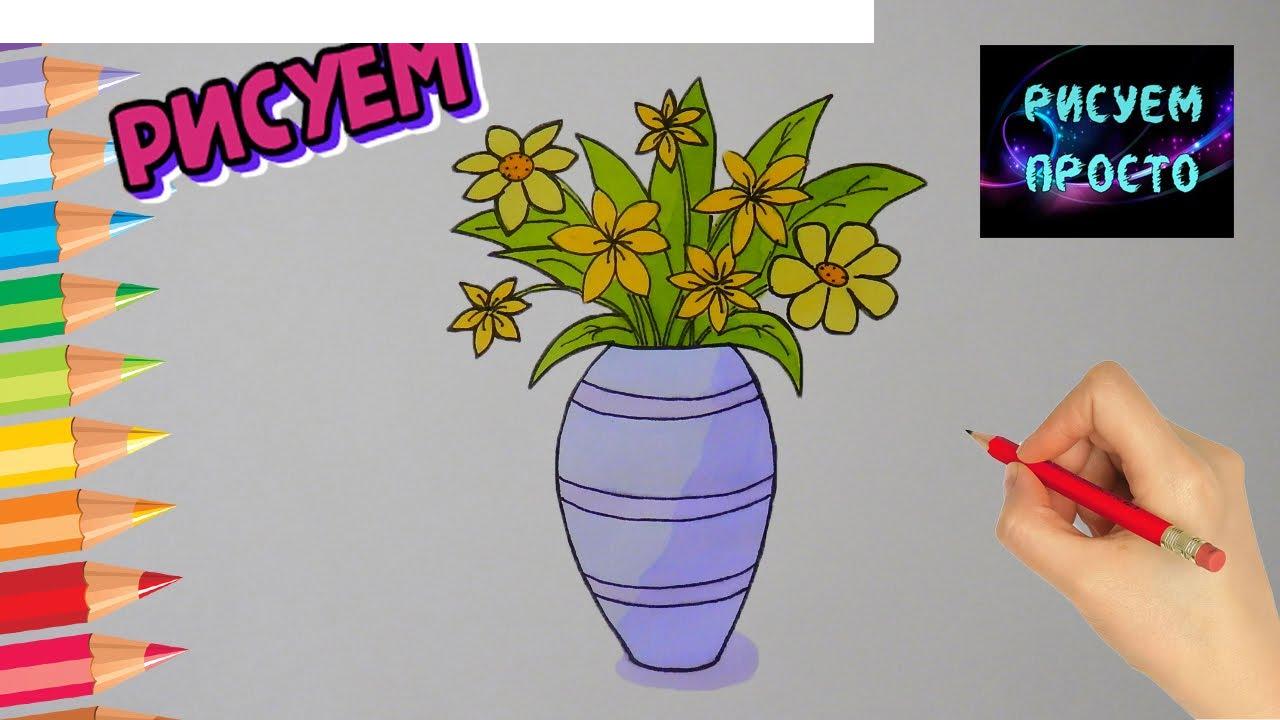
How to draw a vase with flowers
In this lesson we will look at how to draw a vase of flowers with a pencil step by step for beginners, flowers in a vase.
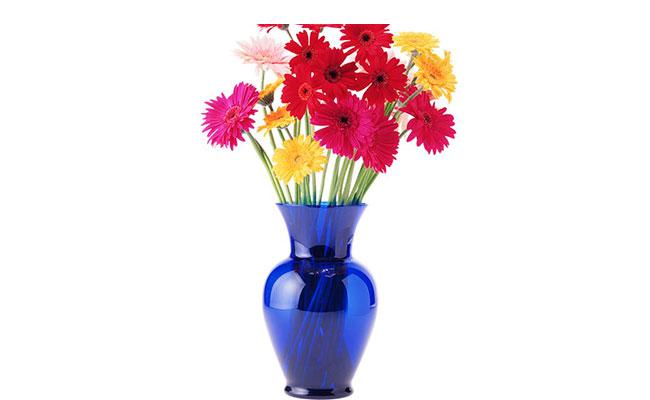
Here's what we're going to draw from.
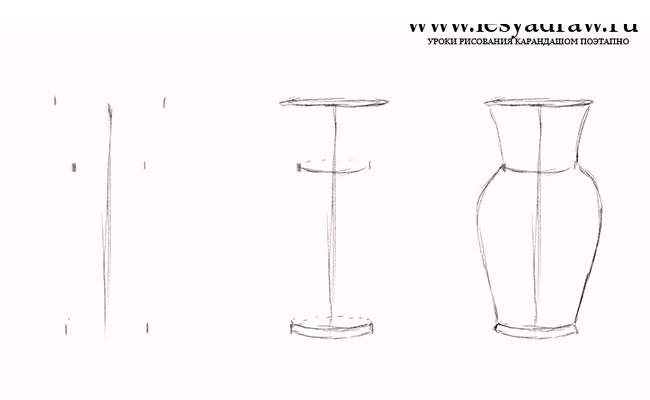
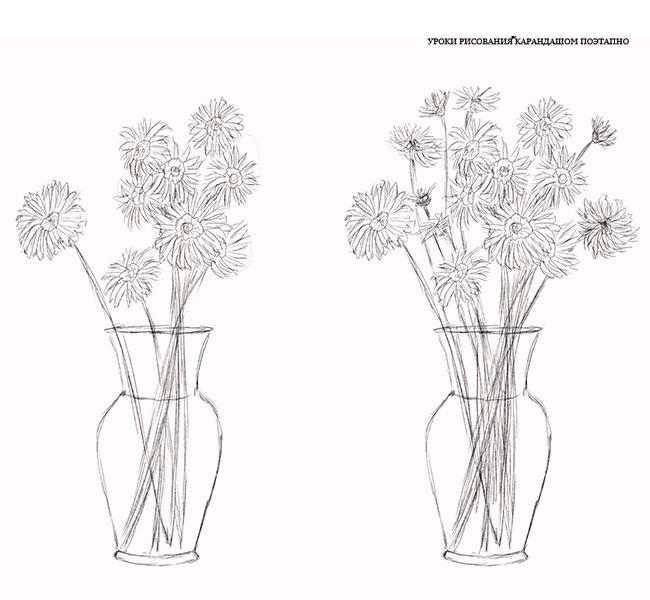
Let's first draw a vase, for this we draw a vertical line that corresponds to the size of the vase itself, then with a ruler we measure the same segments from above, below and where the bend is. Let's draw ovals on these areas, I marked the back wall, which is not visible, with a dotted line. Then draw the shape of the vase. Try to draw it symmetrically. To make it even, you can also measure the same distance from the middle with a ruler.
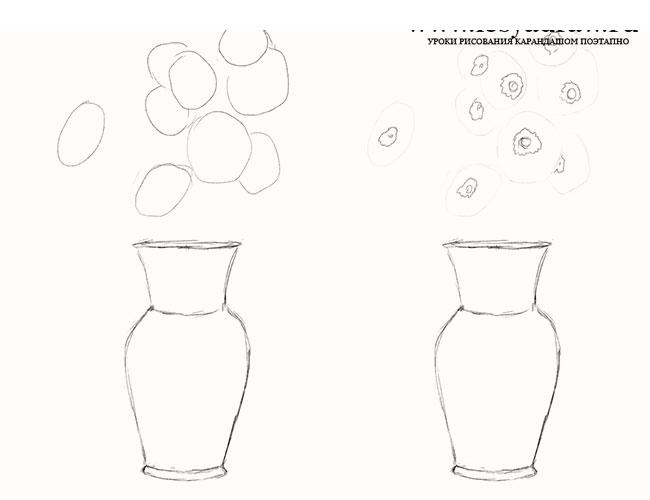
Very lightly, barely noticeable, draw the main large flowers, their size and location in ovals, then draw the middle of each, note that due to perspective it is not always right in the center.
Next, we draw the directions of growth of the petals for each flower in the vase with separate curves, only then we can start connecting these lines and draw additional ones to draw the petals of the flowers. First, draw those that are fully visible, i.e. are above all other flowers.

Now draw the rest of the flowers. From each flower we draw stems down into the vase. We finish drawing more flowers to give the bouquets splendor.
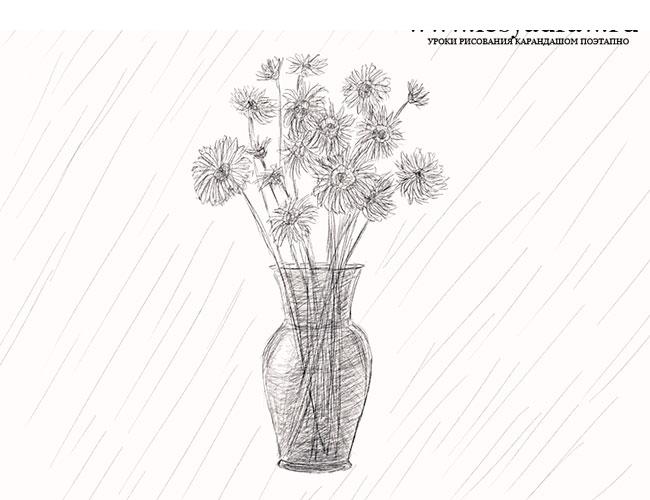
We slightly shade the middle of the flower and slightly the petals, apply shadows to the vase, after leaving a highlight on the left. Strokes are usually done in the direction of the shape, you can use cross hatching to convey different tones. You can add a background and the drawing of flowers in a vase is ready.
See more lessons:
1. Roses in a vase
2. Willow in a vase
3. Still life here and there.
Leave a Reply