How to draw a spinner batman
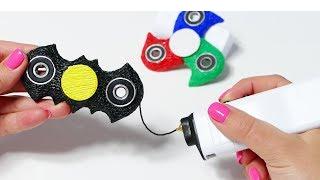
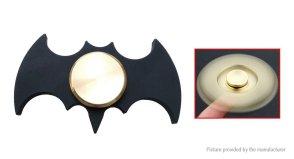
Now we have a lesson on how to draw a Batman spinner step by step with a pencil. Now the spinner has become a favorite toy of children and has a very diverse shape. One of them is a Batman badge.
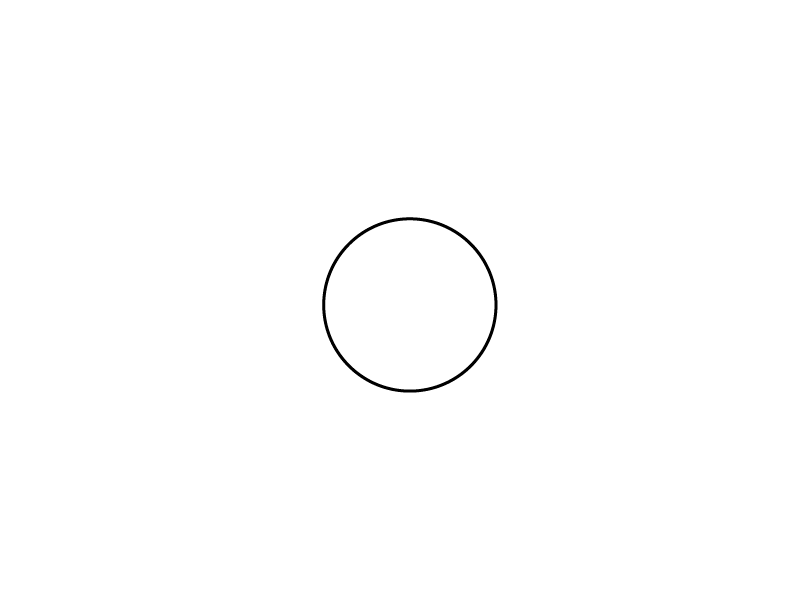
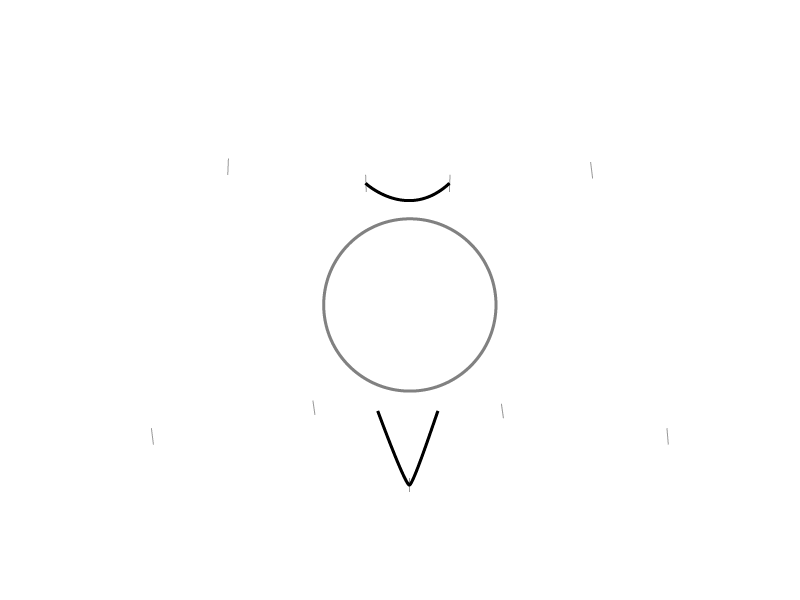
Step 1. we need to draw a circle first. You can draw by hand if you can, if not, there is a lesson on drawing a circle without a compass, and you can also take a cap from a plastic bottle or other round object and circle it.
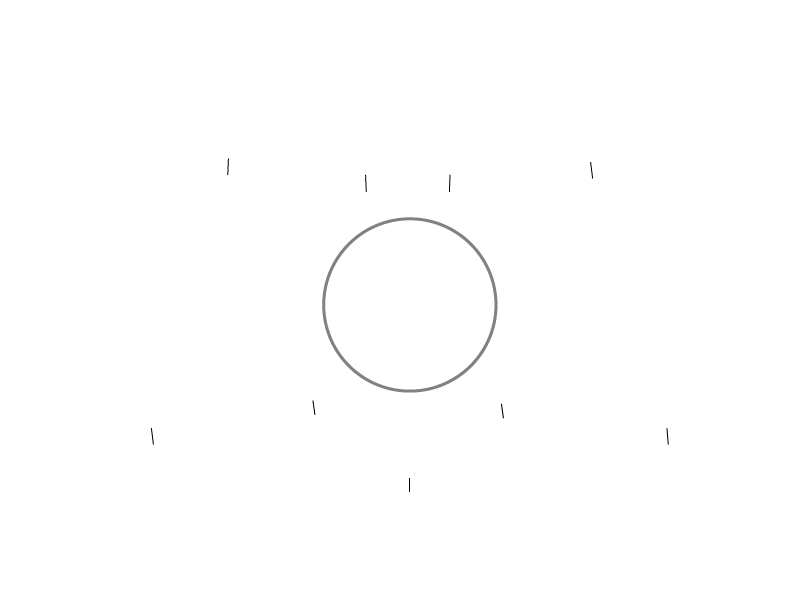
Step 2. We make marks for the wings of the spinner. From above we make marks for the ears, on the sides - for the wings, the distances should be the same.
Step 3. Draw the head and tail.
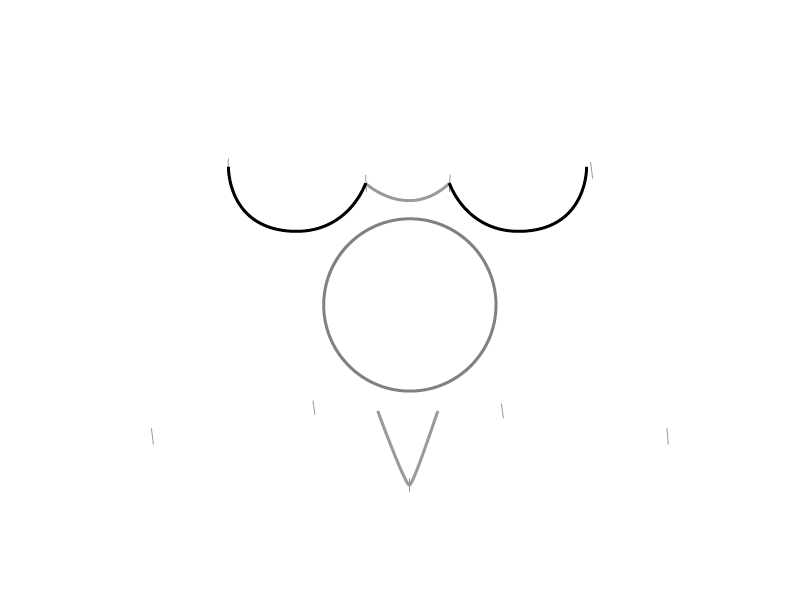
Step 4. draw an arcuate line from the tips of the ears to our mark. Try to make the bend of the line on the left and on the right the same.
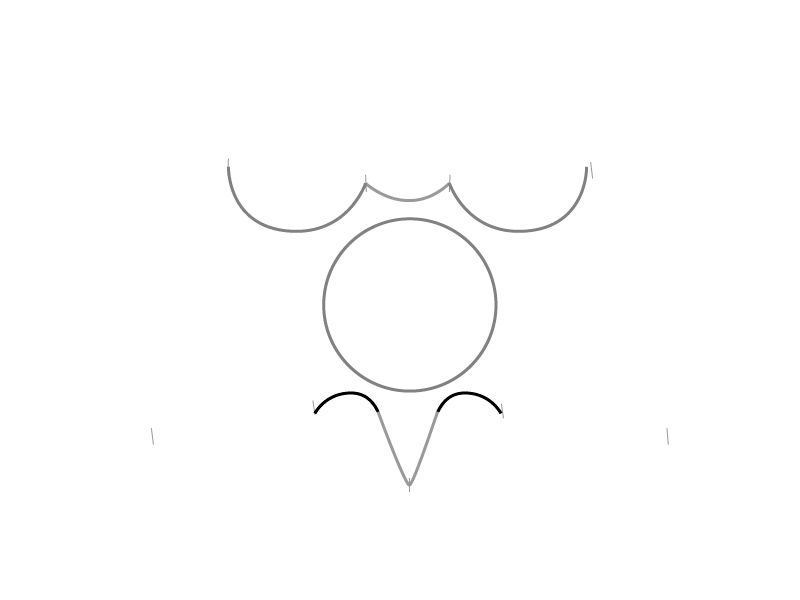
Step 5. Draw curved lines up to the mark at the bottom.
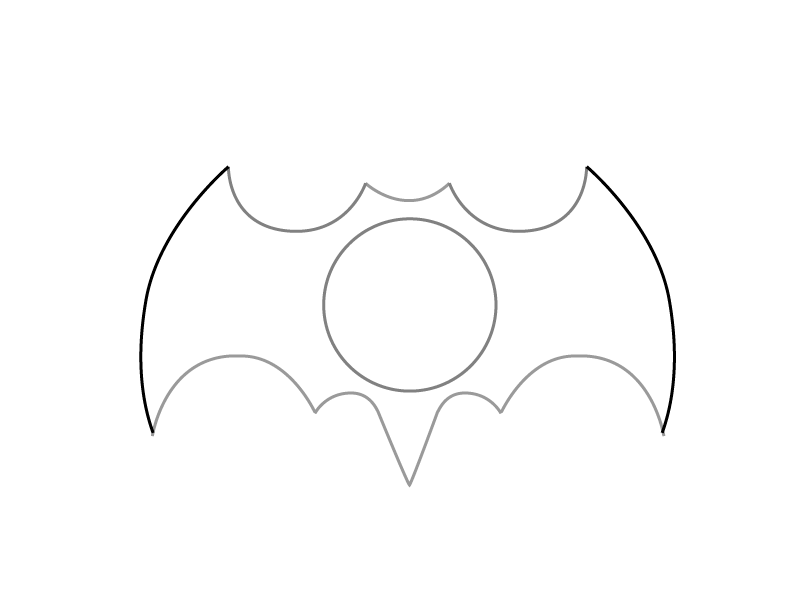
Step 6. We continue to draw the wings, now the curve becomes a strong curvature, but the line is smooth and has a rounded character.
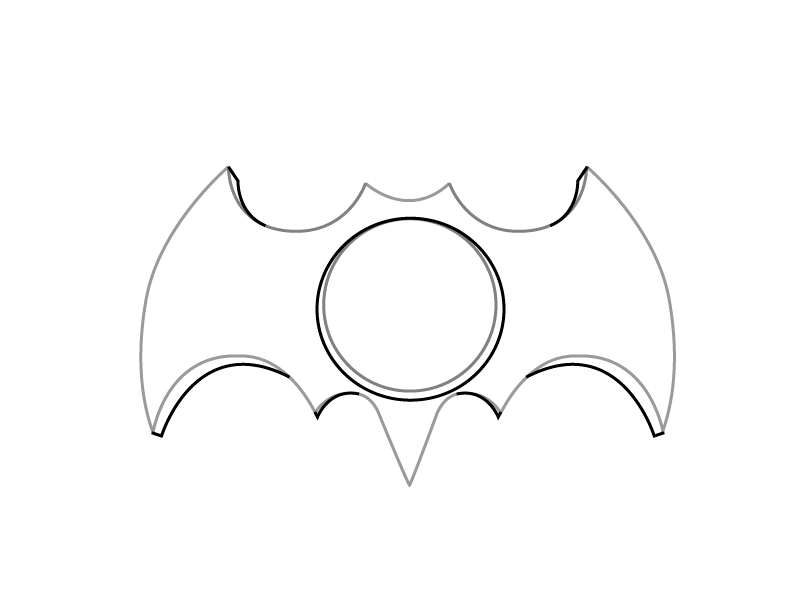
Step 7. We connect the ends of the lines on the right of the curve, as in the figure. Do the same on the left.
Step 8. Add volume to the picture.
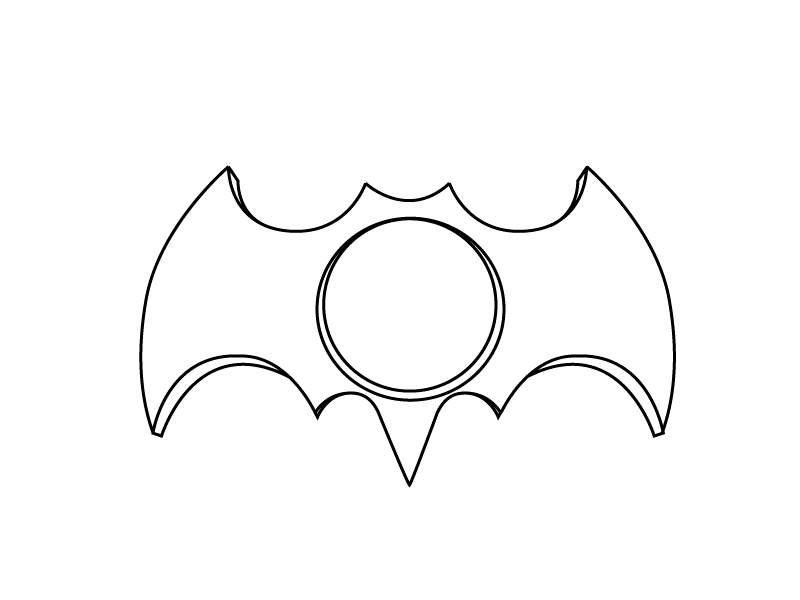
Step 9. this is how the Batman spinner drawn in pencil looks like.
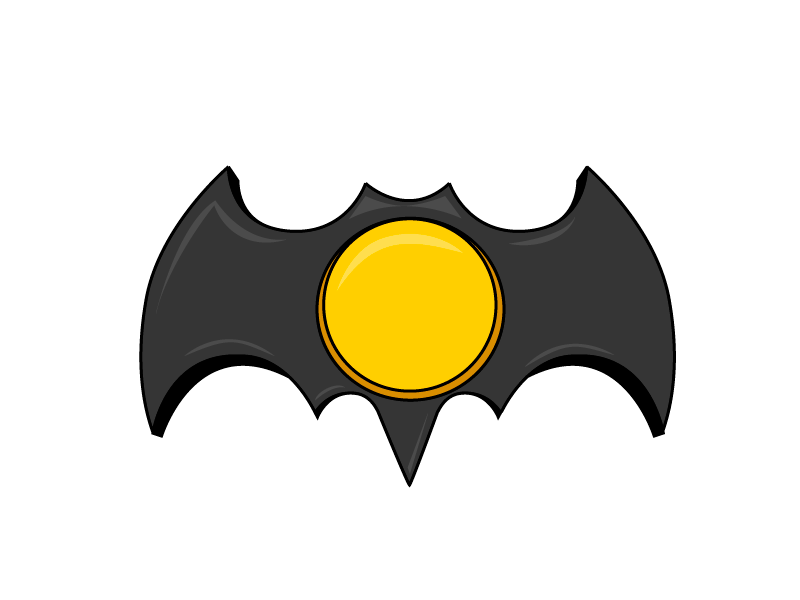
Step 10. It remains only to decorate with paints or colored pencils, or felt-tip pens.
Leave a Reply