How to draw a rook with a pencil step by step
In this lesson we will look at how to draw a rook bird with a pencil in stages. Probably everyone knows the famous painting, or at least heard "The Rooks Have Arrived" by Savrasov. Rooks belong to crows, they are even very similar, they can be confused. But our usual crow has a gray body and the head looks different, and the rook's whole body is completely black.
This is what the rook looks like.

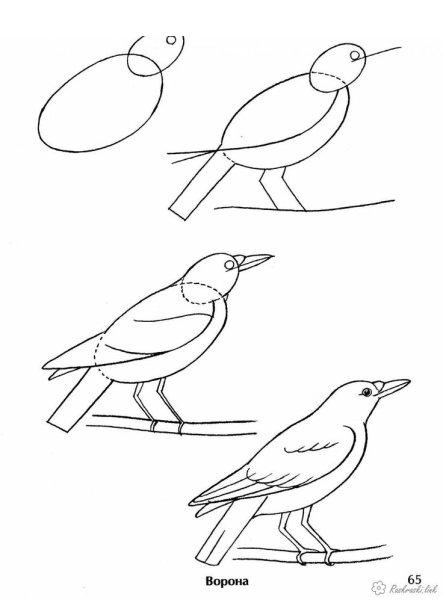
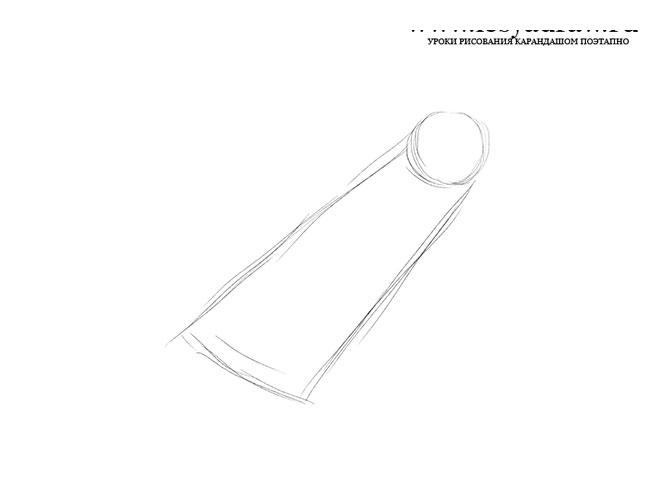
Sketch the body of the bird with thin lines, mark the head in the form of a circle and a long body at an angle.
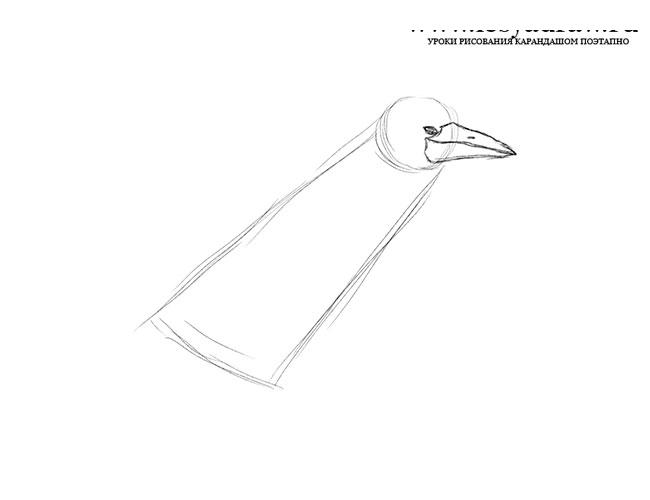
Draw an eye and a massive beak, note that the beak starts near the eye, and the eye is located on 1/3 of the circle.
Next, draw the body and tail of the rook.
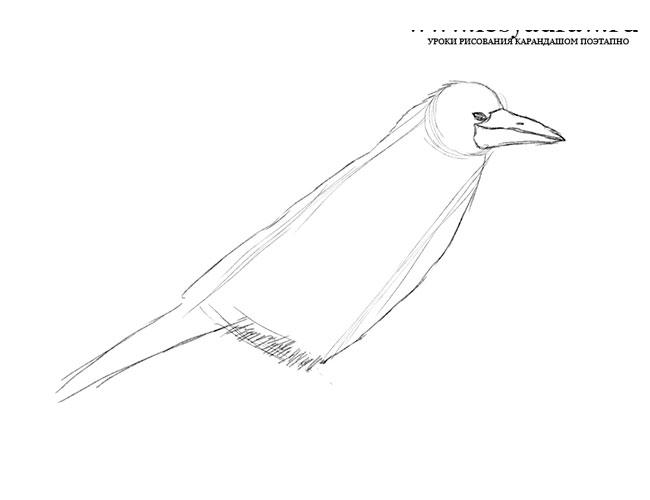
Erase the auxiliary lines and draw the wing and paw, on the wing we show the feathers.
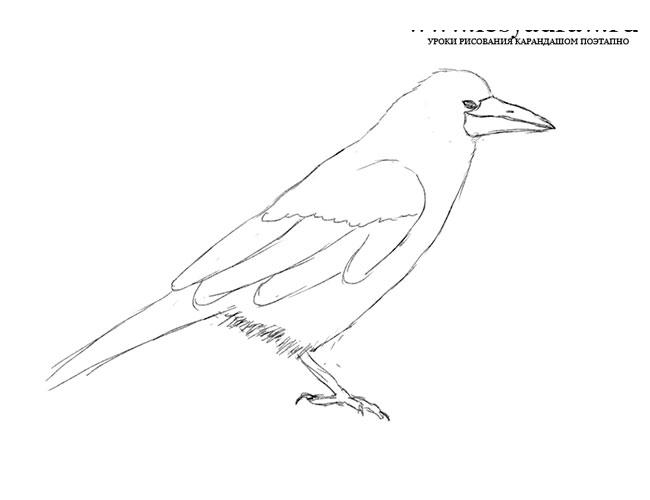
Draw the second paw, tail, we show the feathers on the wing in more detail. We draw the visible part of the second wing.

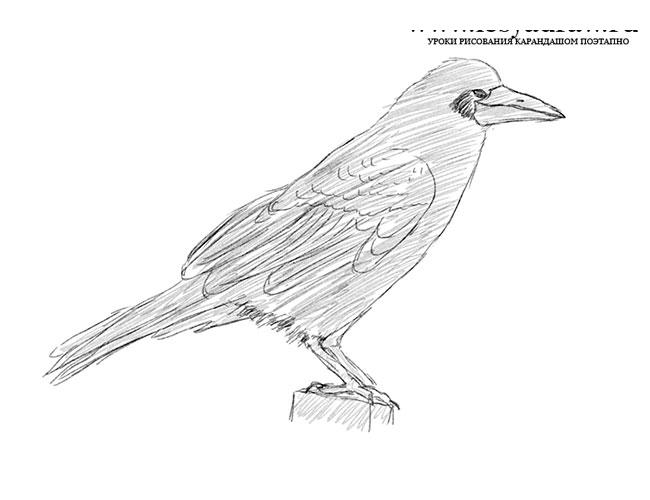
We shade with a light tone the entire body of the rook.
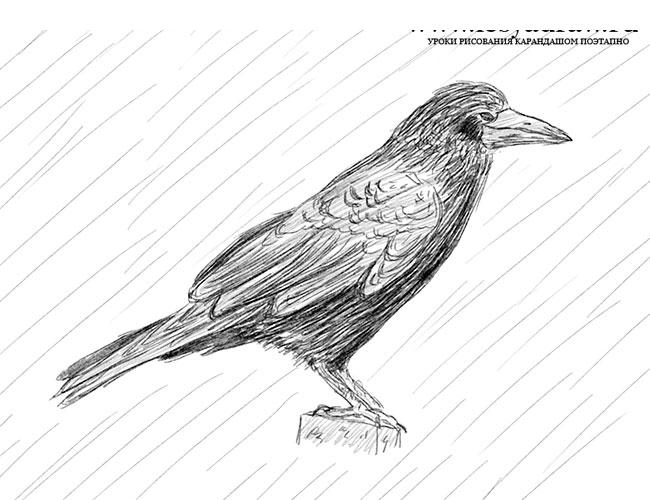
Now we add more dark shades, take a softer pencil or just press harder on the existing one. We simulate feathers with curves of different lengths and directions, as well as different densities. Where it is necessary to make the color darker, then apply the lines very close to each other, where it is lighter - away from each other. The bottom of the bird, under the tail and part of the second wing is completely dark.
See also:
1. All lessons about birds
2. Crow
3. Magpie
Leave a Reply