
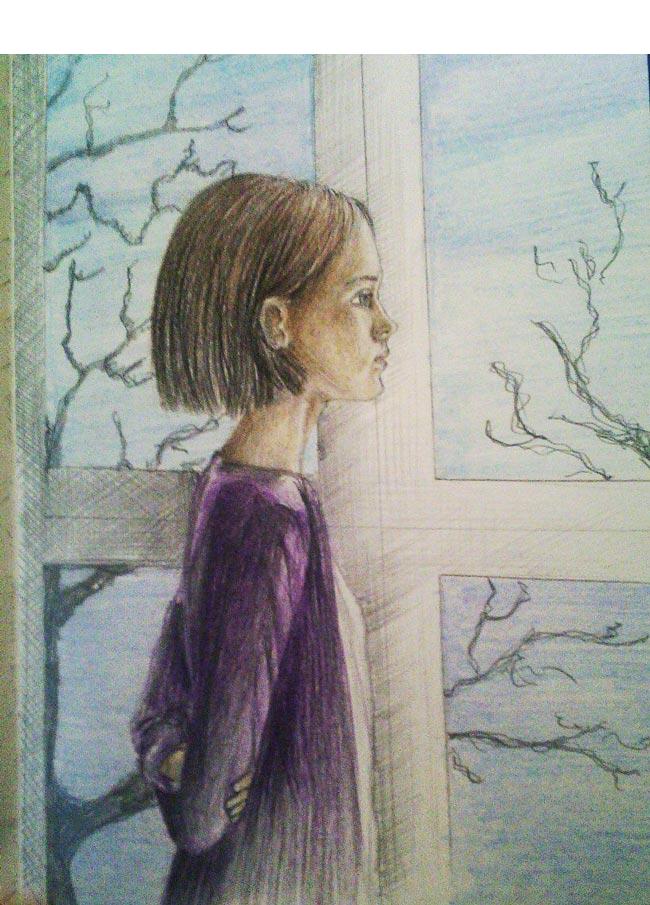
How to draw a girl near the window with colored pencils
Drawing lesson with colored pencils, how to draw a girl standing near the window in stages.
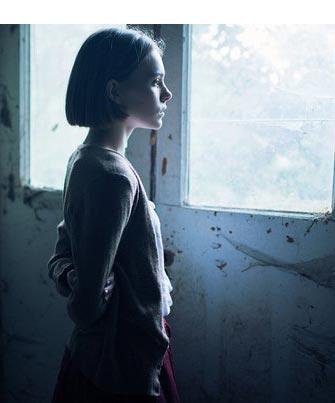
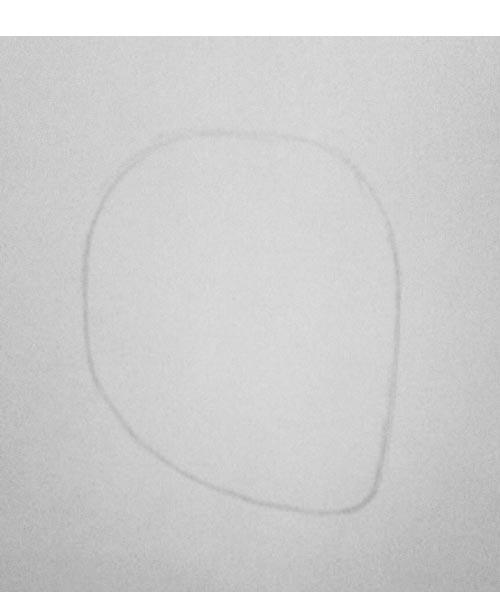
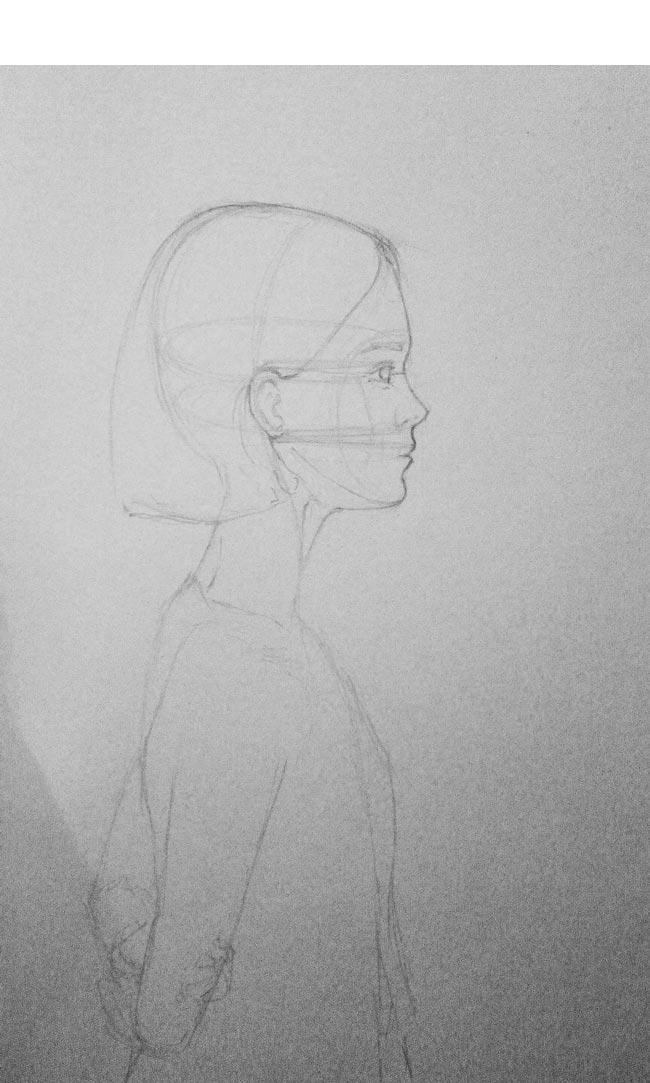
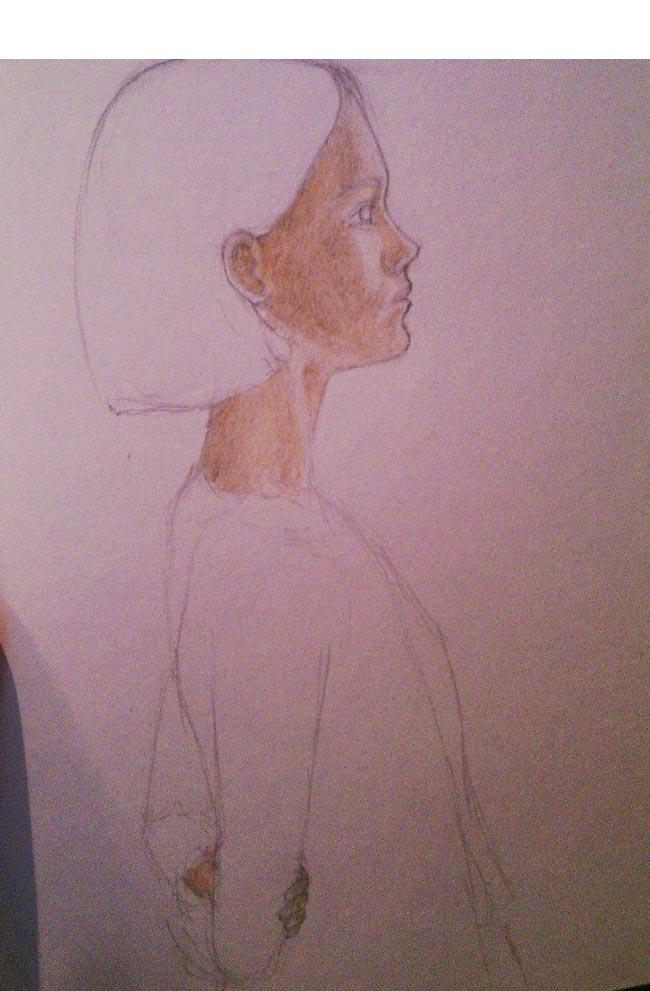
1. The drawing is made from a photograph. Looking at the photo, we draw the outline of our girl with the construction. First we build the head: the first thing we do is draw a figure like in the photo.
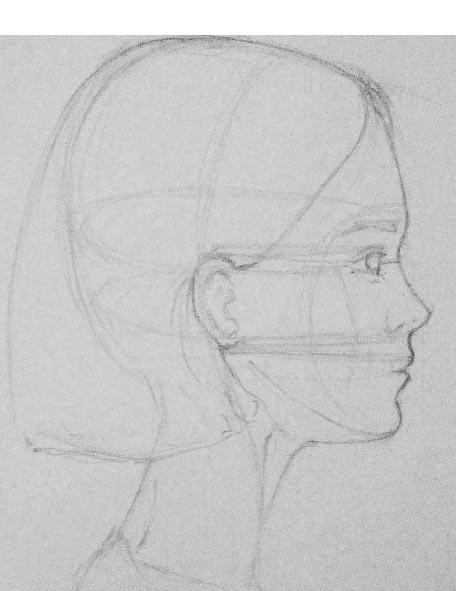
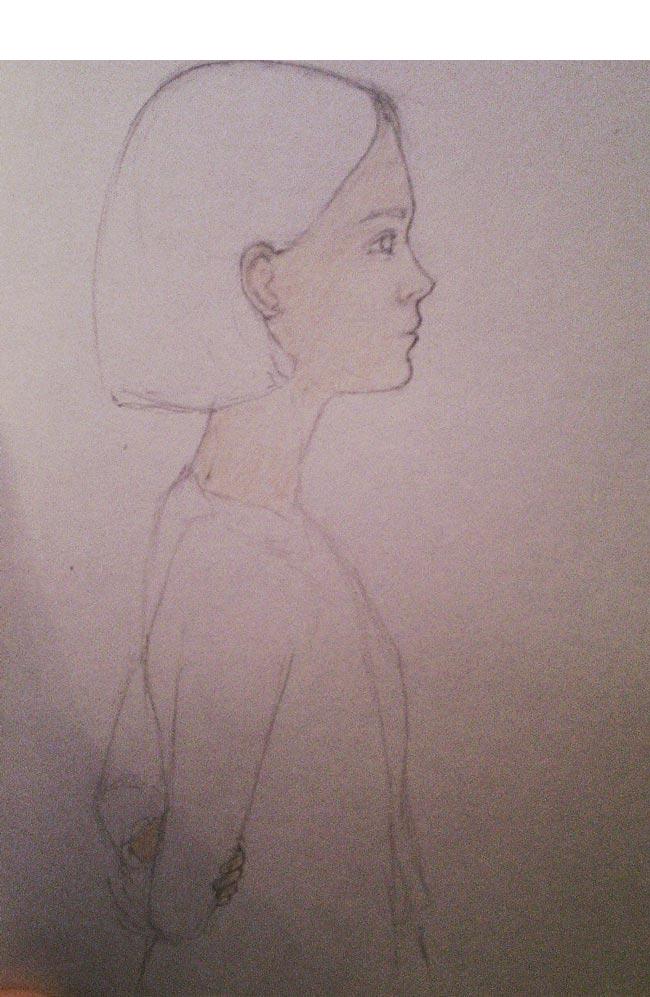
2. After we have done this, we begin to build ellipses for the eyes and nose. With the help of auxiliary lines, we determine where our ear will be. Next, we outline the eye, eyebrow, mouth. Try to make auxiliary lines and construction lines as thin and weak as possible, as we will erase them in the future. We put hair on the head, we try to make their position as realistic as possible. Next, draw the body.
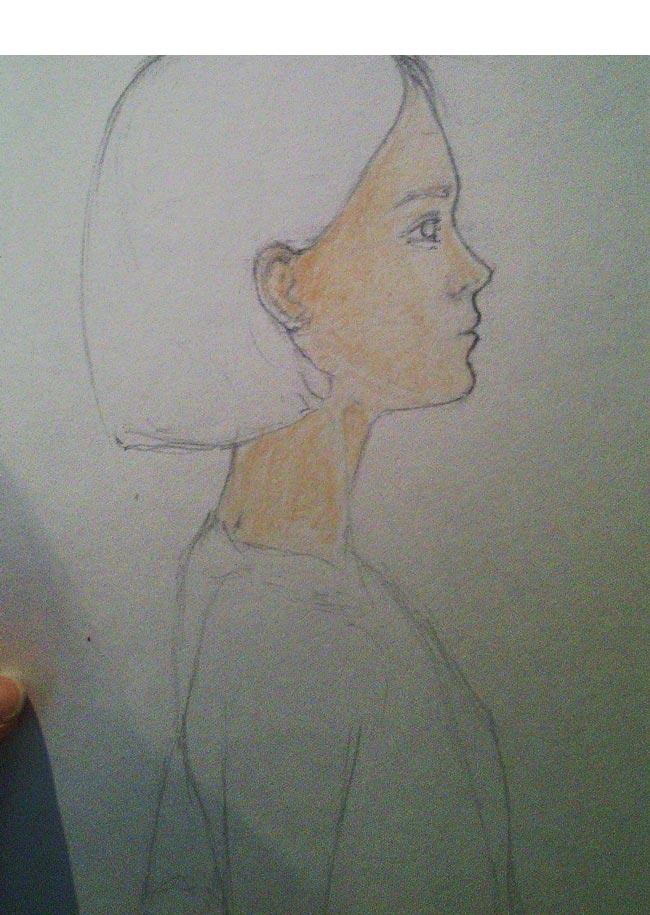
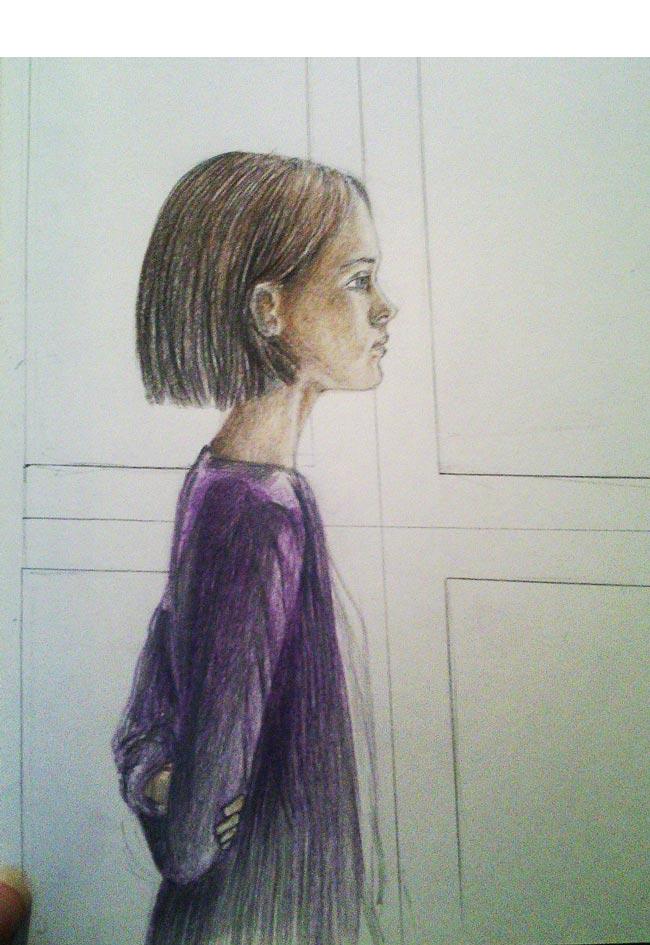
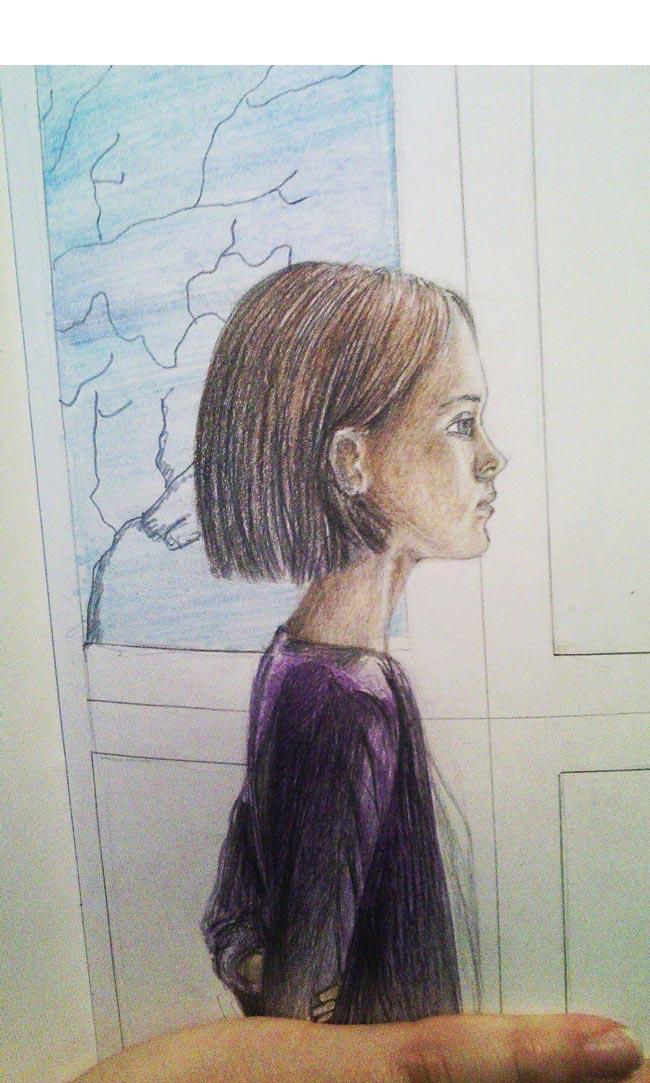
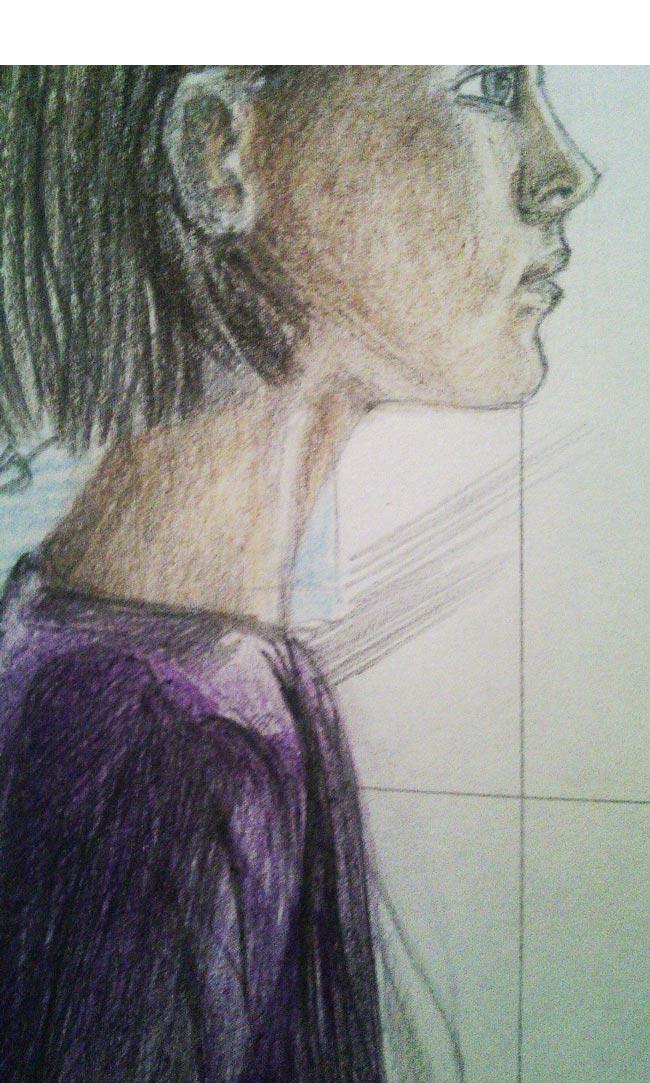
3. Once we have completed the sketch of the figure, we proceed to the most interesting. Drawing the body in color. I find it easier to start with the face. and so, what do we do: the first thing we need is we stroke the face and the hand that we see with the same color. Without creating volume, we will do this in the future. I used Faber Castel pastel pencil in Burnt Yellow Ocher 6000 for this.
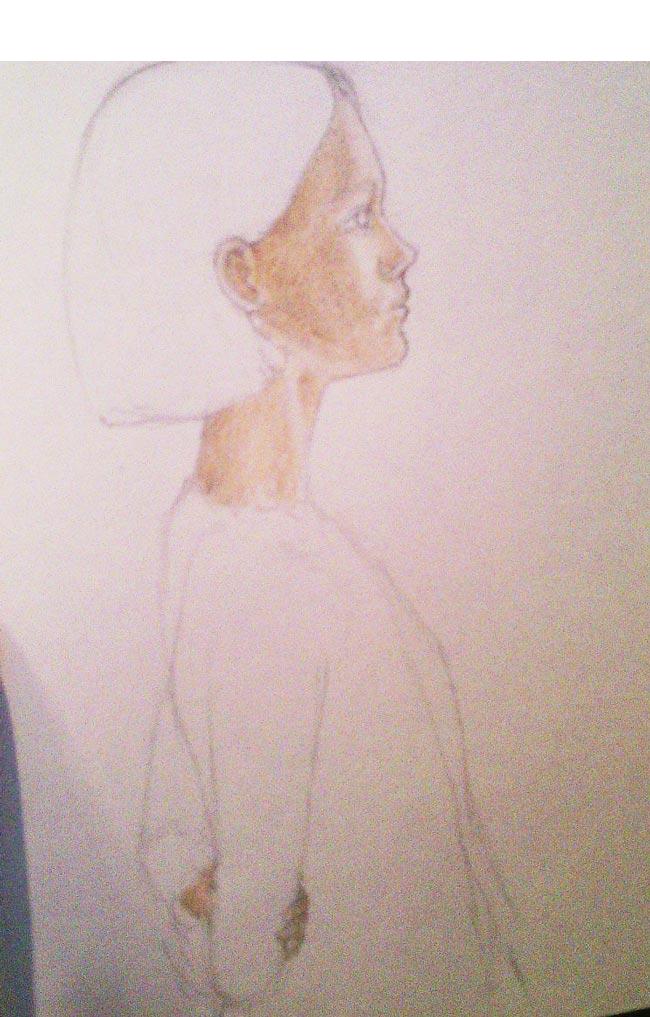
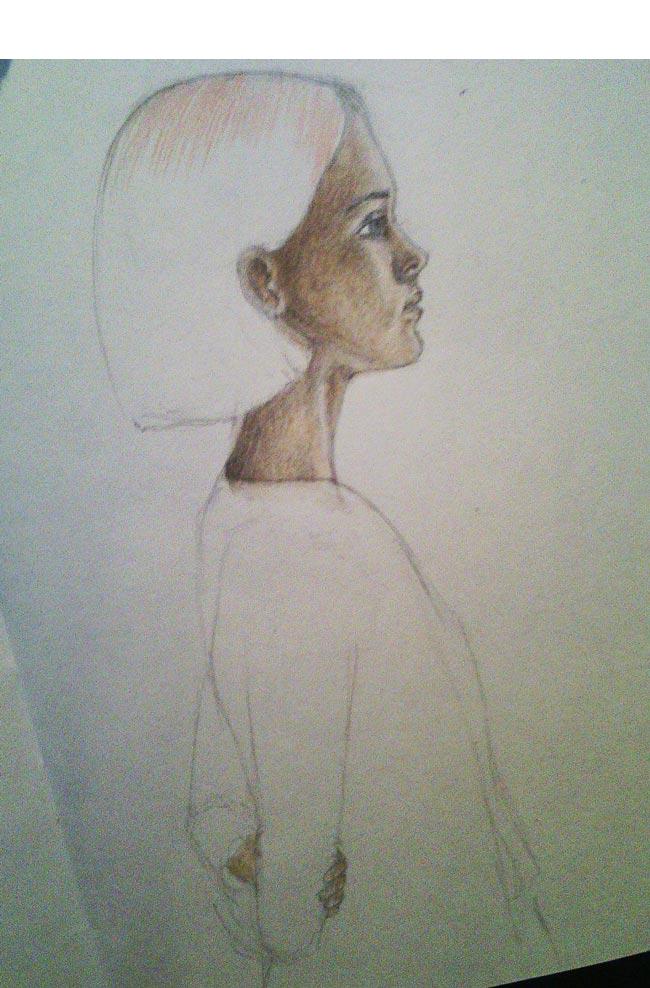
4. Next, we gradually create the skin tone we need and the volume with the shadow. for this, those places where there will be a shadow we hatch with a darker color, but not much yet. This is not the final step. I also used Faber Caste pastel polychrome pencil Umbra Natur, Raw Umber 9201-180***
5. Next, we make the places of our shadow even darker. pencil Faber Caste color Umbra Natur, Raw Umber 9201-280***
 6. Then it seemed to me that this was still not the effect that I wanted, and I took a regular B pencil and shaded the shadow areas more strongly.
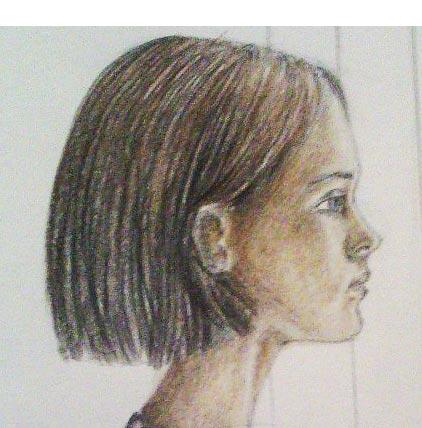
7. When I liked everything in my face, I highlighted the eyebrow, eye and lips with the same pencil. Let's get to the hair. For this we need 3 pencils. light, dark and even darker. We draw strands of hair. Try to hatch the lines the way our hair actually grows. (From crown to tips).
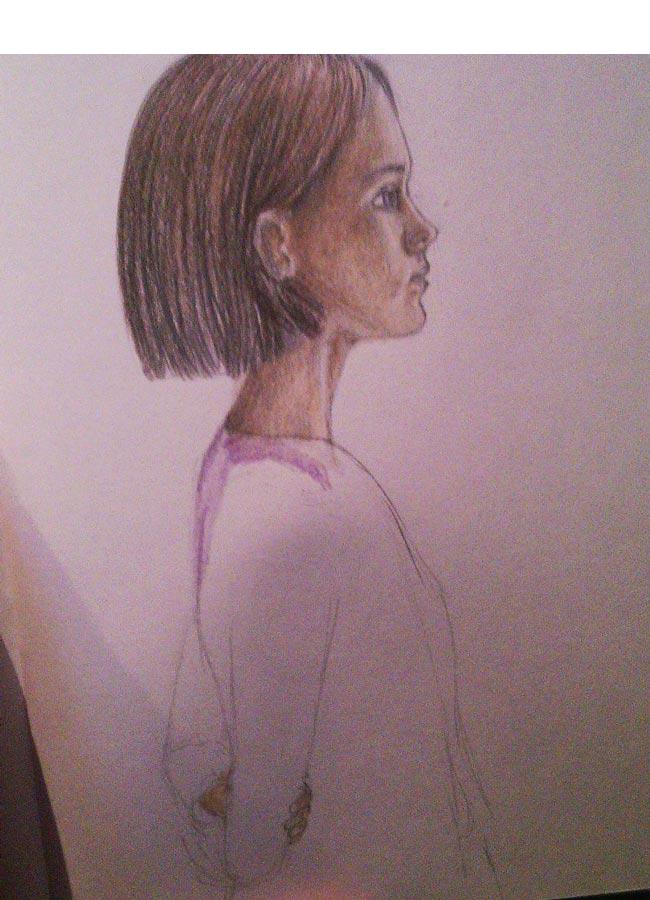
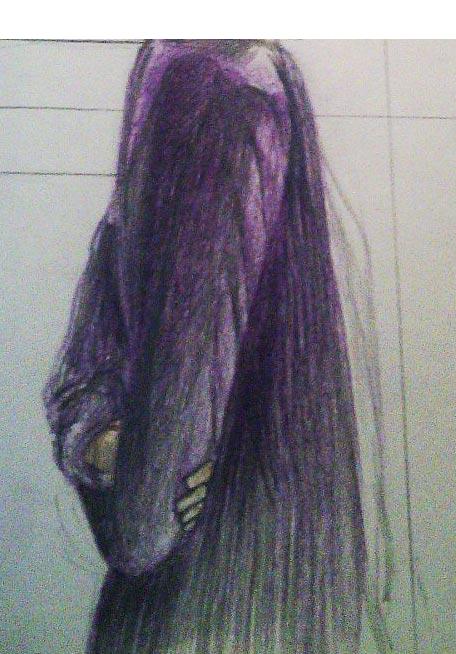
8. When you realize that enough is enough and it's time to stop with the hair, move on to the jacket. you can take any color you like. In this case, I used a burgundy koh-i-noor and a regular pencil for softness B (I gave them more volume). I decided to leave the T-shirt under the jacket white, so I drew only the folds with a simple pencil.
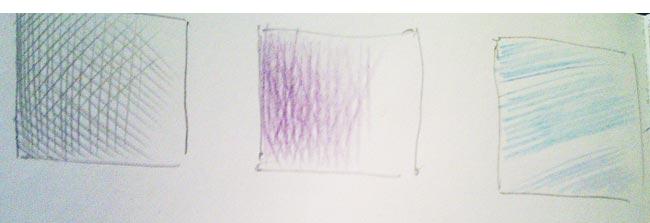
Stroke options.
9. When the girl was ready, I decided that I wanted to make a beautiful background. For the sky, I used 3 pencils of different blue hues and started hatching with longitudinal strokes. Try to make it softer. If you want, you can leave bright places for clouds. Next, draw the branches of the trees. As we know, there are no perfectly straight branches, so the steeper you make them, the more interesting our tree will turn out).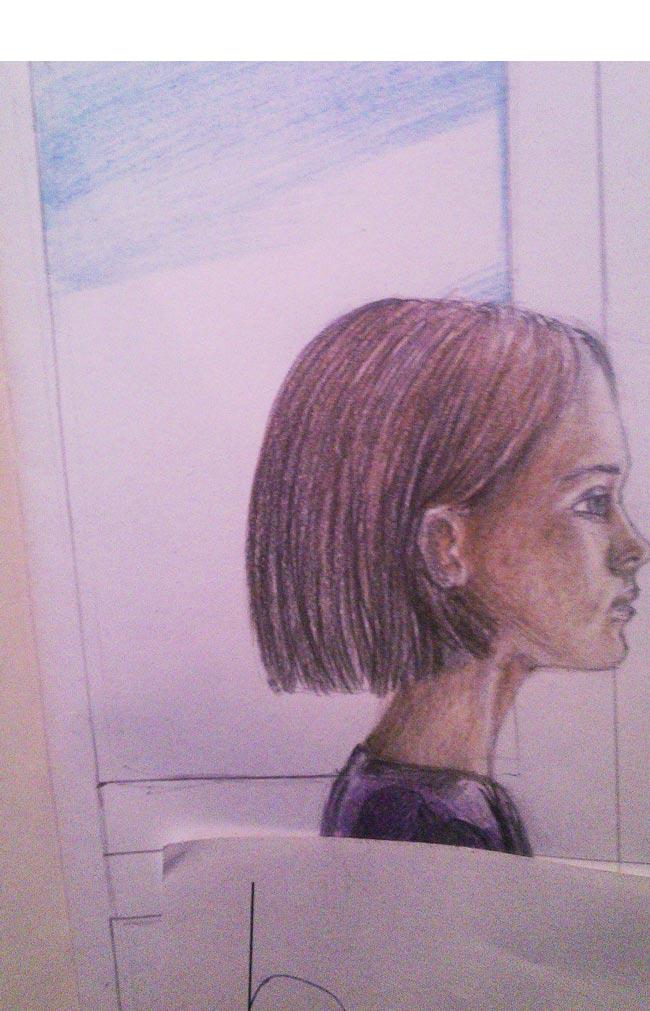
10. We shade all our sky with different blue colors.
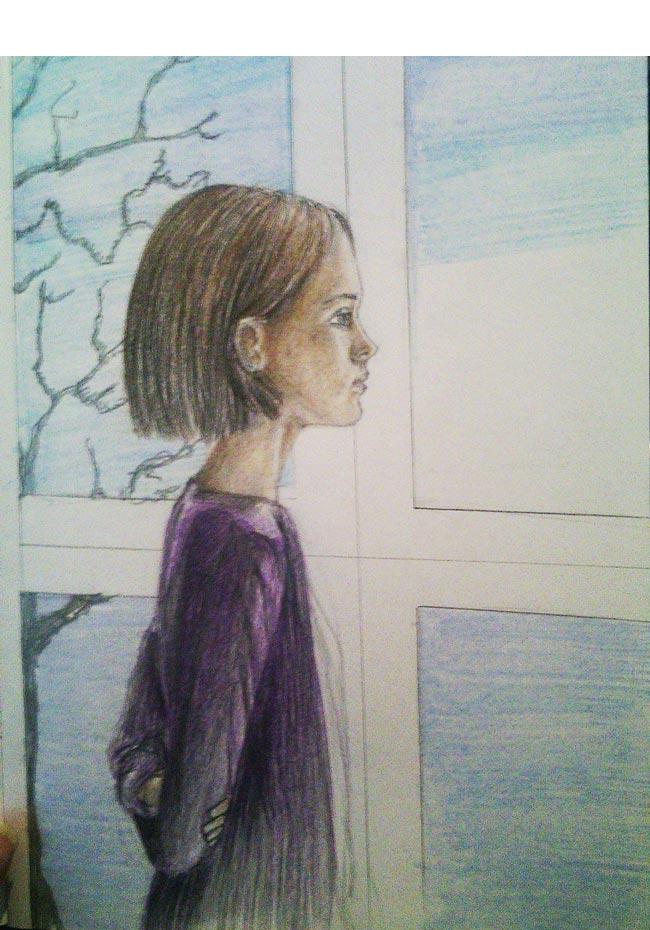
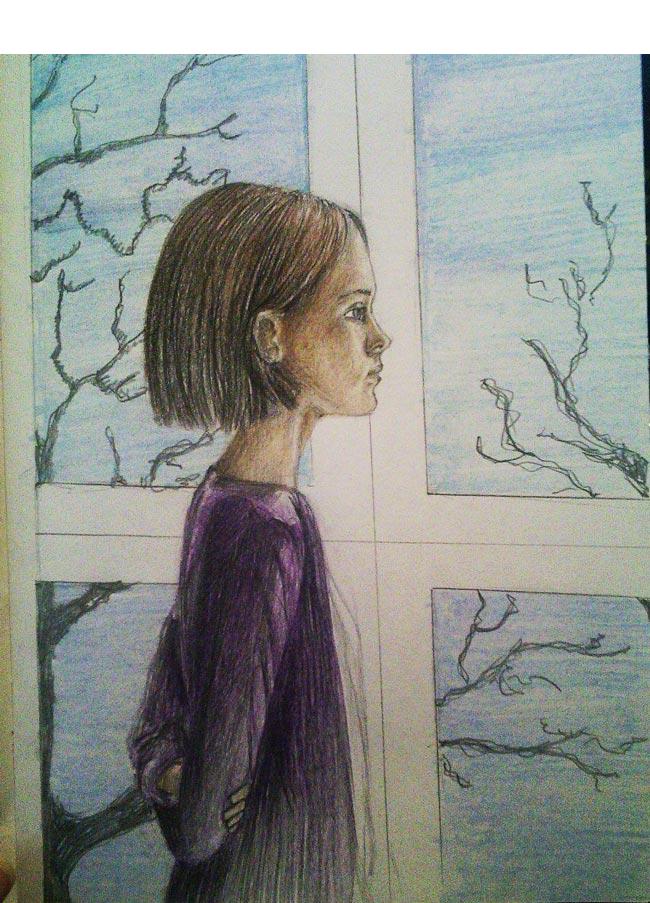
11. Let's start shading the frame. To do this, with such strokes, which are shown in the photo, we stroke the vertical frame.
12. Next, to show that it is still vertical, add vertical strokes). Thus, we get a kind of mesh.
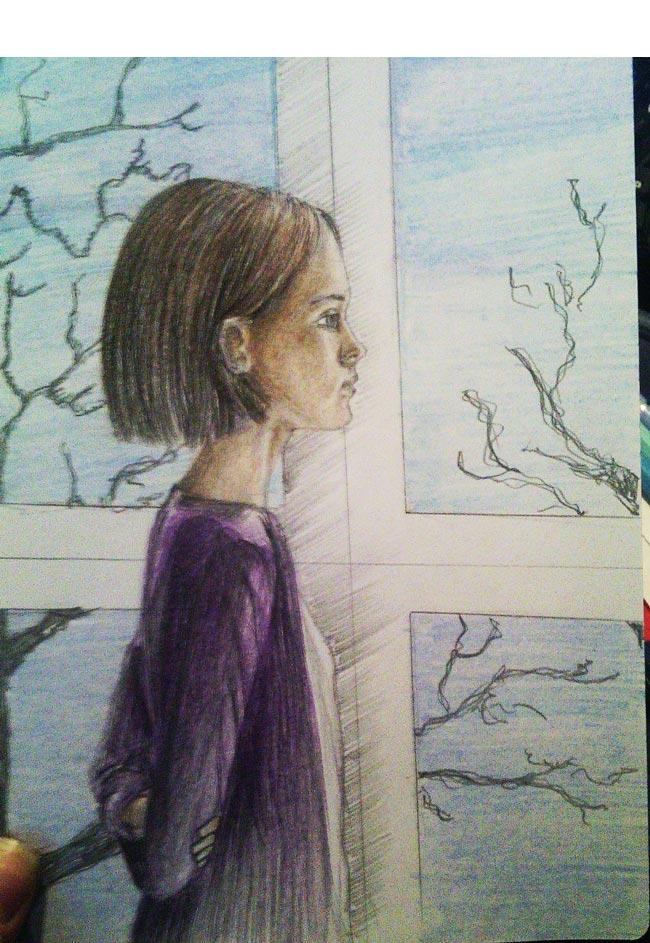
13. We proceed to the horizontal bar. Since it will be darker, due to the shadow, we add one more stroke in the opposite direction to our mesh, with which we made the previous stage. It turns out a grid crosswise + vertical hatching.
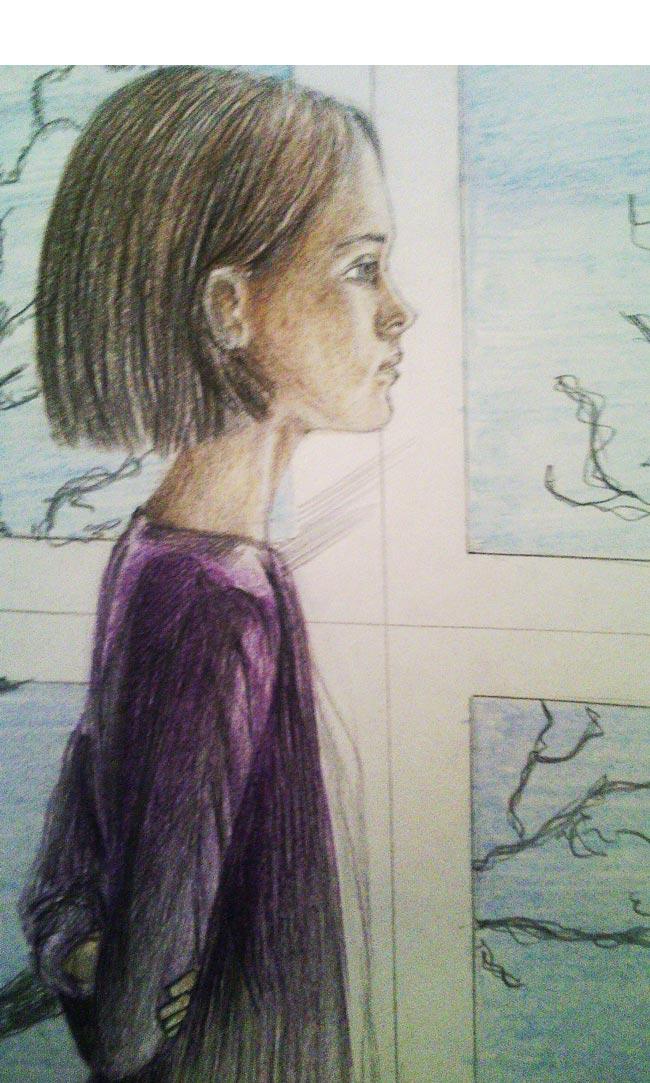
14. We do the same work with the remaining parts and enjoy our work!
 Author: Valeria Utesova
Leave a Reply