How to draw Deadpool step by step with a pencil
Now we have a drawing lesson on how to draw Deadpool from the Deadpool movie in stages with a pencil.
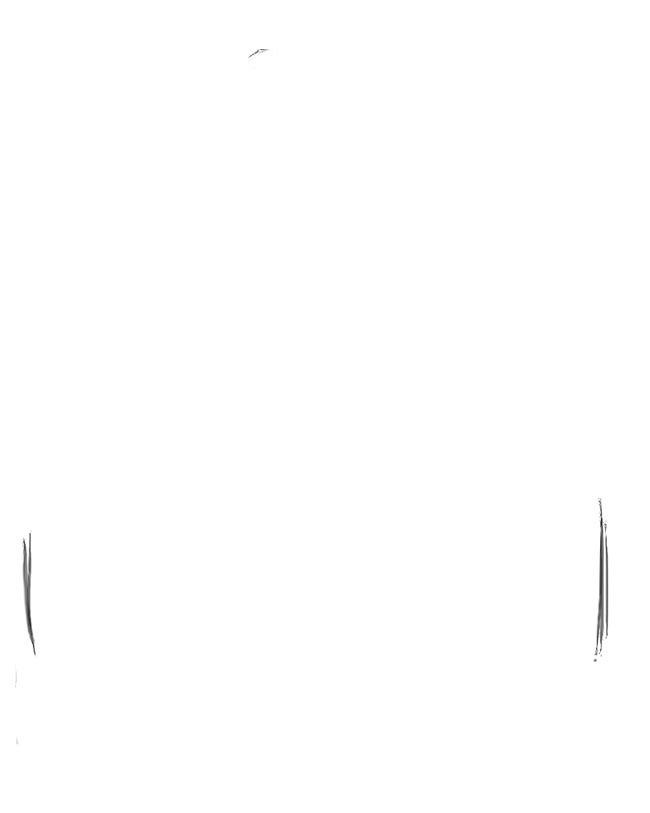
 1. We start drawing with a general silhouette. We outline the dimensions of the figure with light straight lines so that Deadpool fits entirely into the sheet.
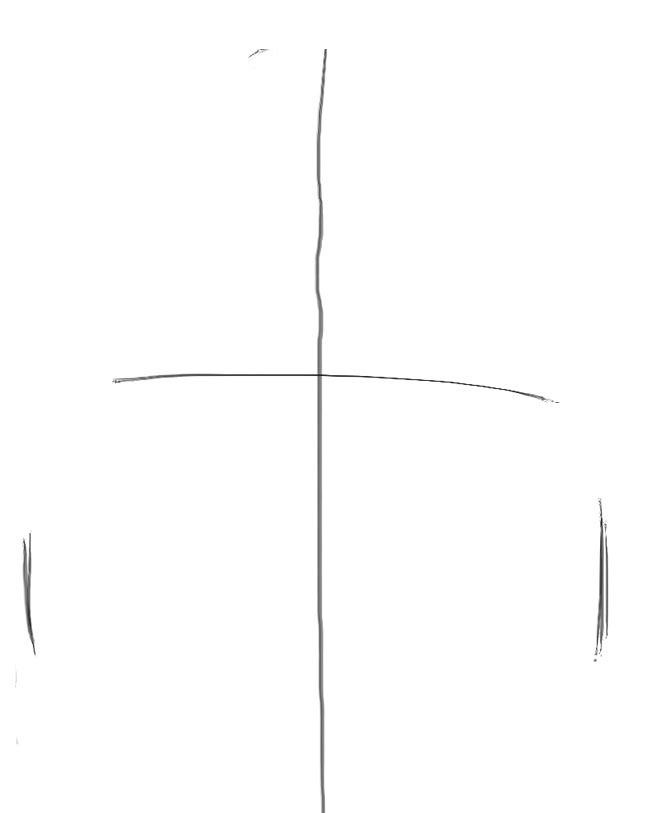
 2. Let's move on to building the body. We draw a vertical line, on the basis of which we will build the entire "skeleton" of the character. We outline the approximate line of the shoulder girdle with a horizontal straight line. Sketch out the oval of the head.
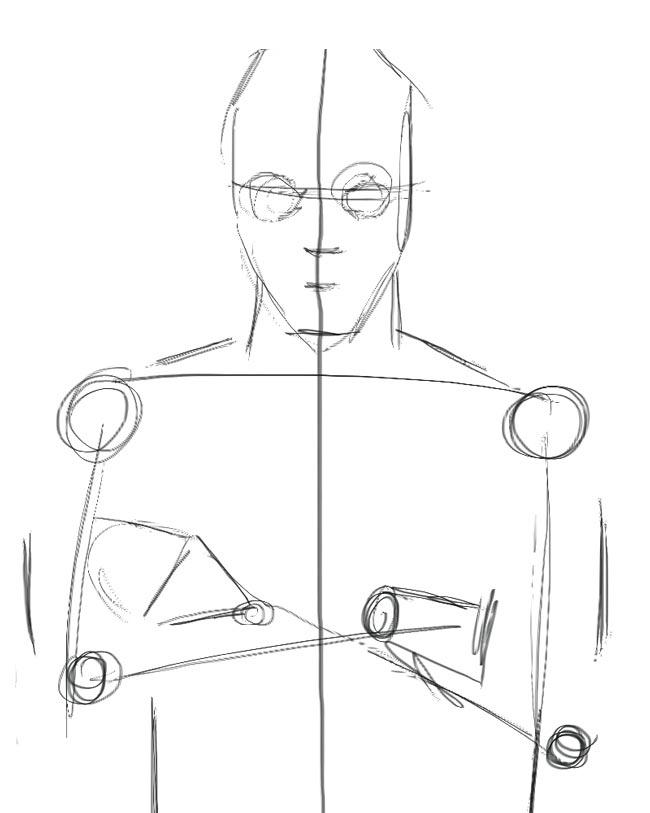
 3. Deadpool stands with his arms crossed over his chest. We denote the approximate location of the shoulder and elbow joints with simple circles. We draw lines that show the approximate position of the hands.
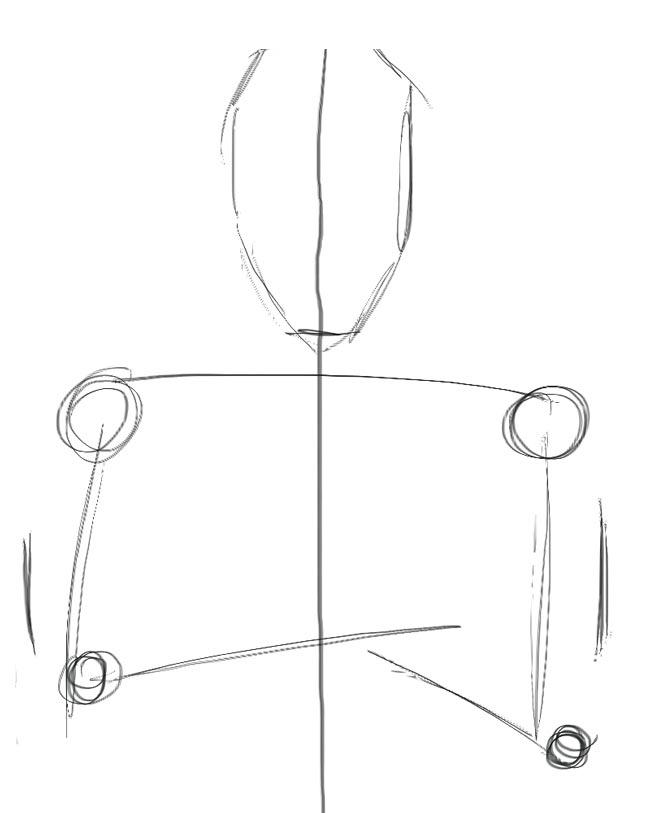 4. Add lines for the neck and torso. Let's draw a horizontal curved line that will indicate two things at once: 1) eye level; 2) tilt of the head (Deadpool looks at us from under his brows, slightly lowering his head). Now the sketch already resembles a human figure.
 5. We mark the first details. We first outline the approximate location of the palms with a “mitten”, excluding fingers. We move the area of the head - we “plant” the eye sockets on the eye line we have already drawn. In the early stages of construction, we draw with simple shapes, so the eye sockets can be shown with ordinary circles. Below we outline the line of the nose (namely, the lower line of the wings of the nose) and the line of the mouth (although it is not visible under the mask, you should still mark the place of the mouth and lips so as not to accidentally disturb the proportions of the head).
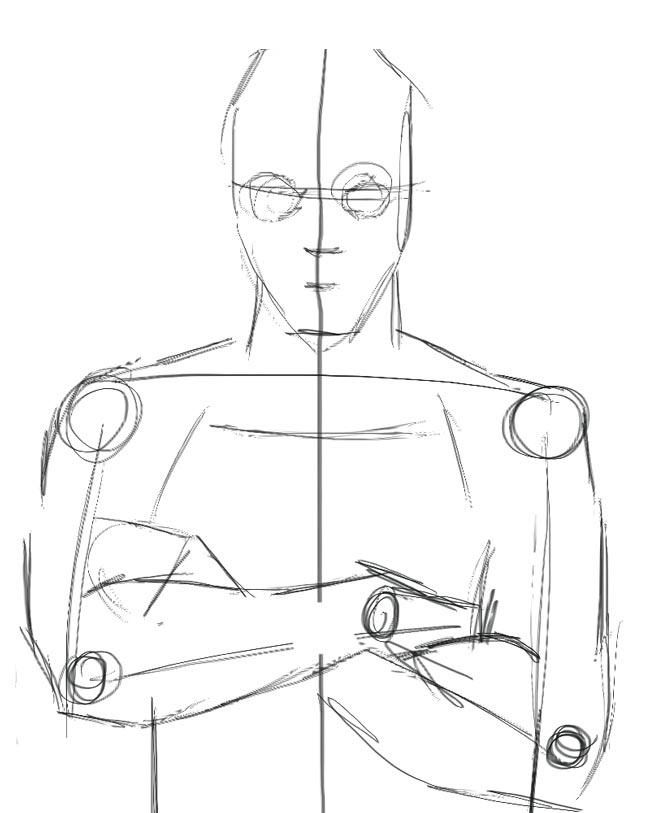
 6. Let's work on the hands. Let's outline the muscles of the arms and the places where the plates of the bib are located (Deadpool's suit consists of tight fabric and a protective shell on the chest and shoulders).
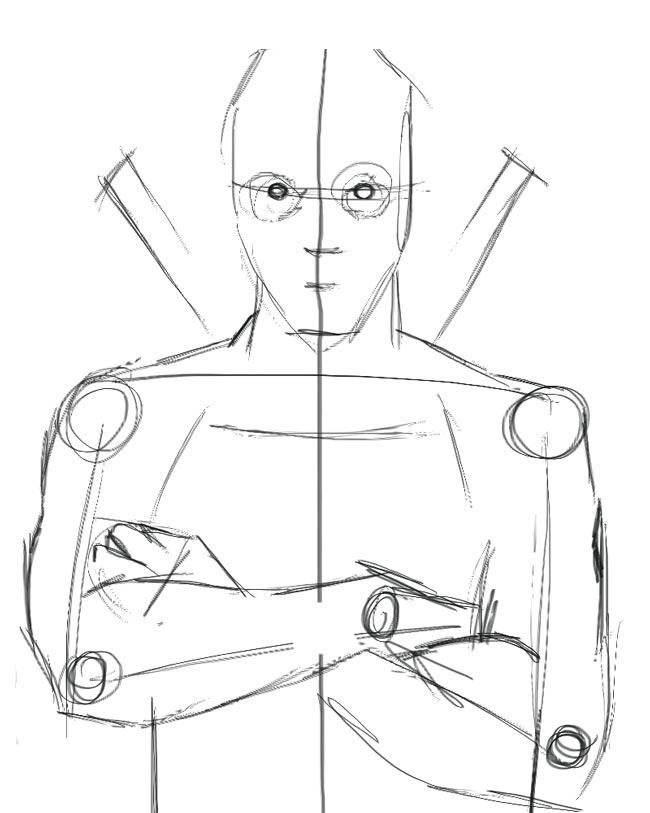
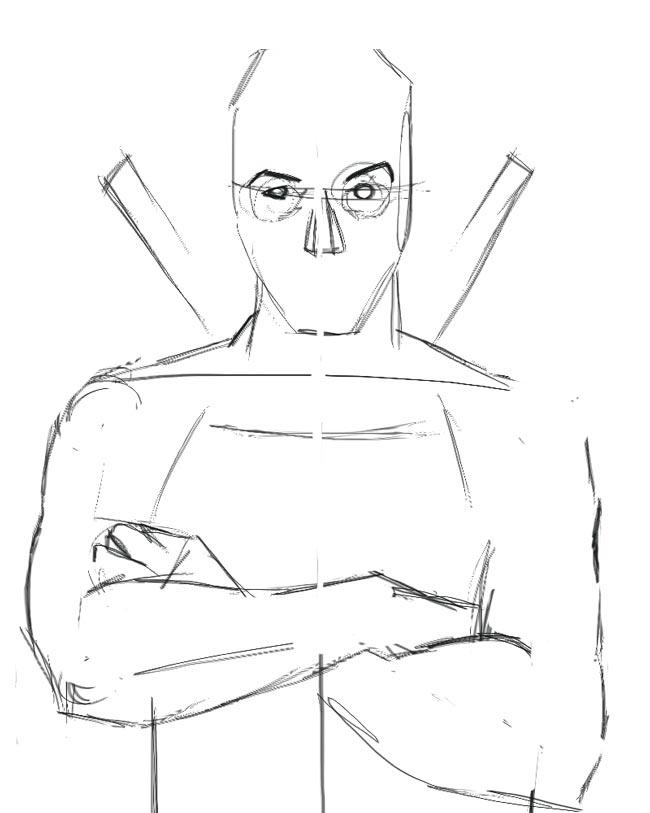
 7. We continue to refine the relief of the muscles of the hands; add the handles of the swords sticking out behind the character's back; now let's mark the fingers and place the eyes in the eye sockets (it's wise not to immediately try to repeat the specific section of the eyes of the Deadpool mask, but first find the desired position of the slits, indicating them with simple circles).
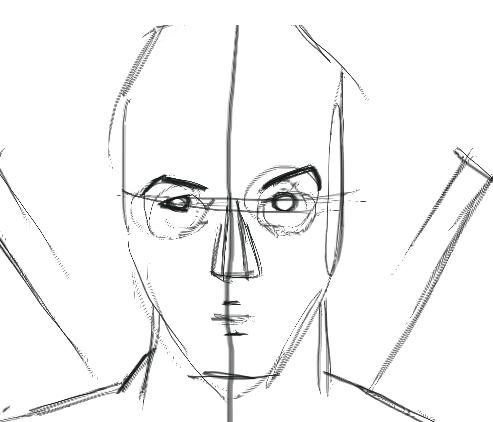
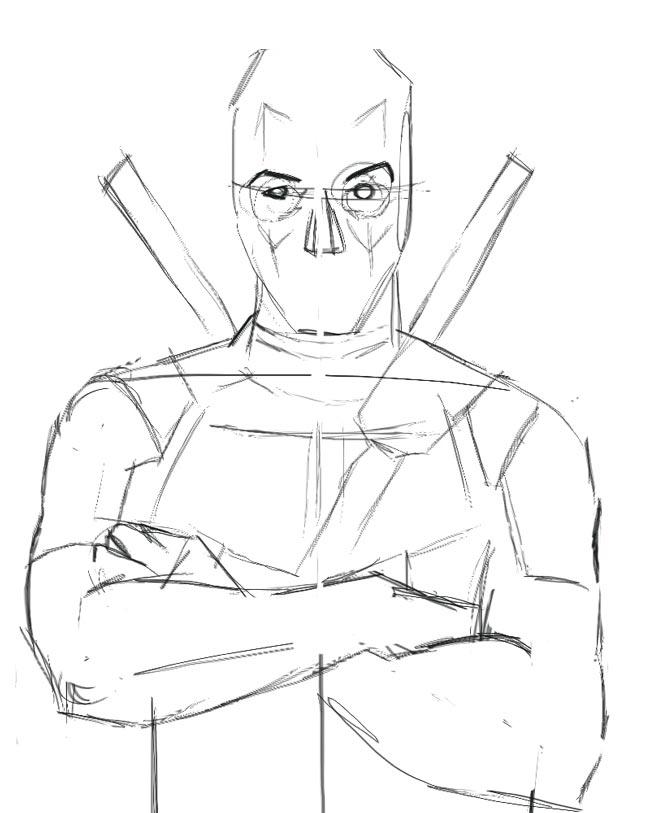
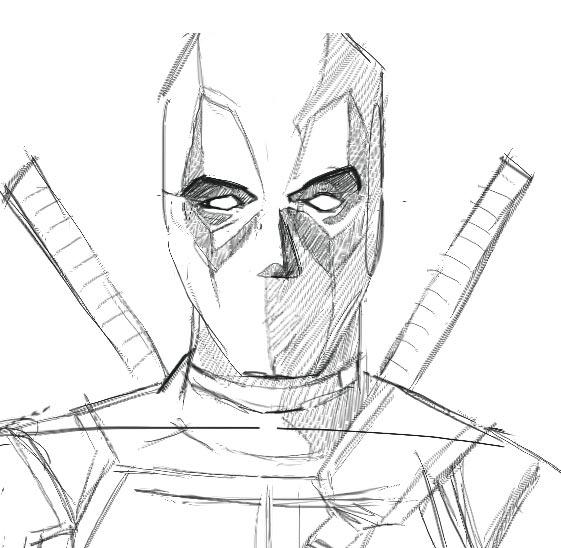
 8. Let's pay attention to the face. Although it is hidden under a mask, Deadpool's facial expressions are clearly distinguishable - here he is smirking, his right eyebrow is raised; the left eye is squinted. Let's depict this facial expression at our work. You also need to designate the nasal septum.
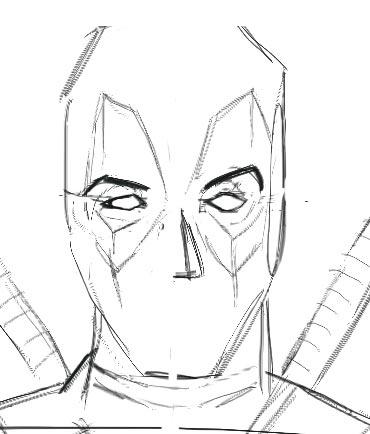
 9. It's time to get rid of the extra construction lines and move on to the final part of the drawing. Let's denote the black spots of the mask as "corners".
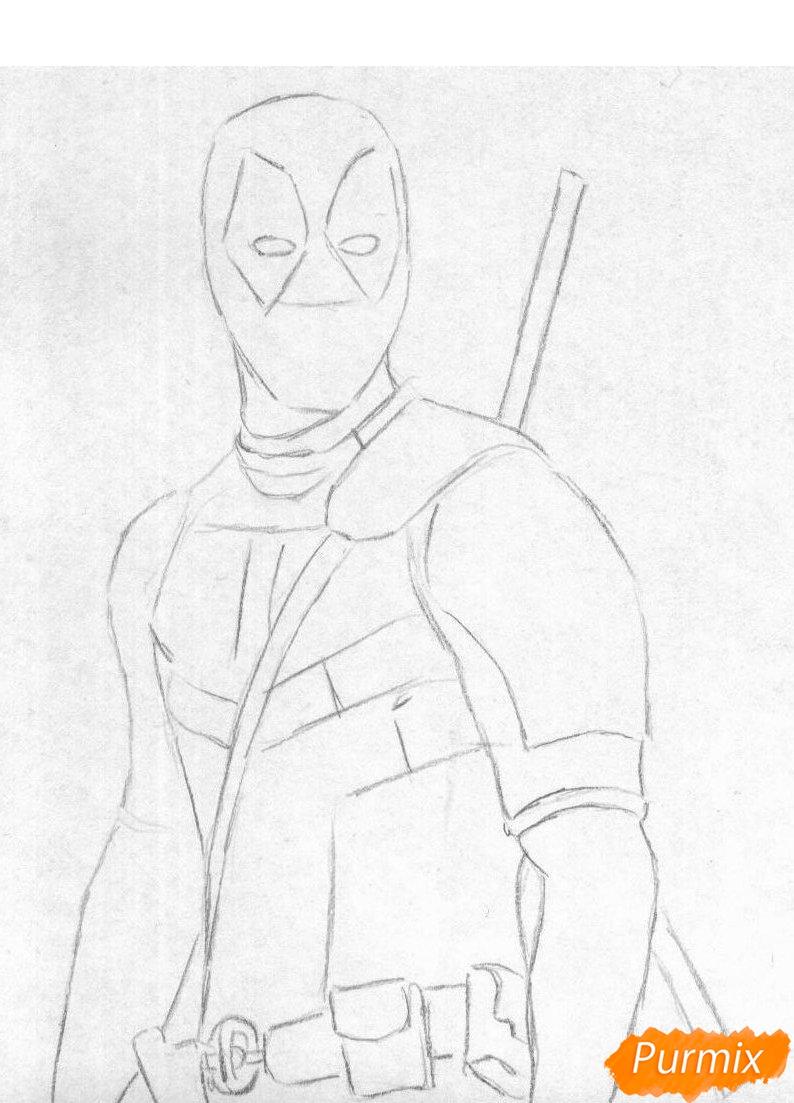
 10. At this stage we are engaged in details. We draw the remaining elements of the hero's costume. We give the eye sockets the final shape, remove the extra structures of the nose.

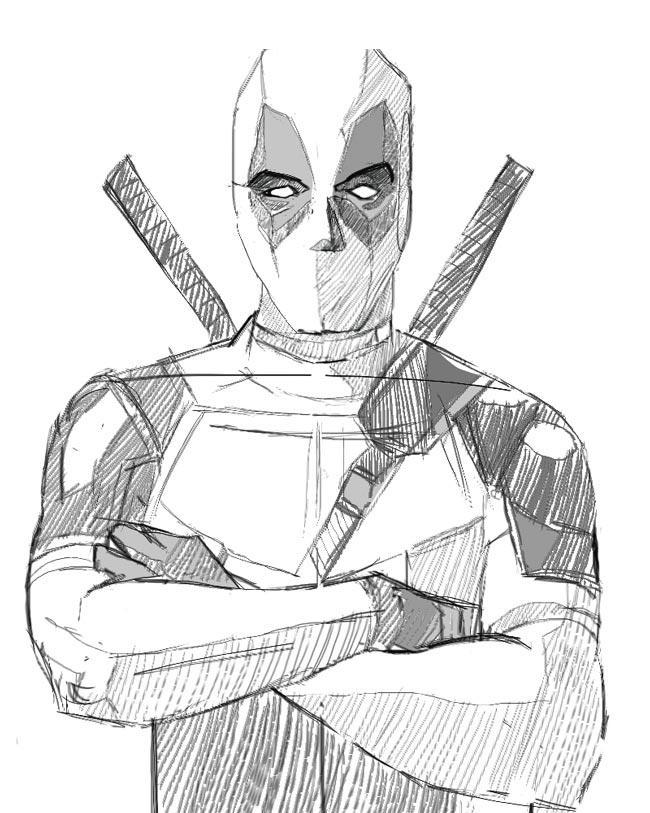
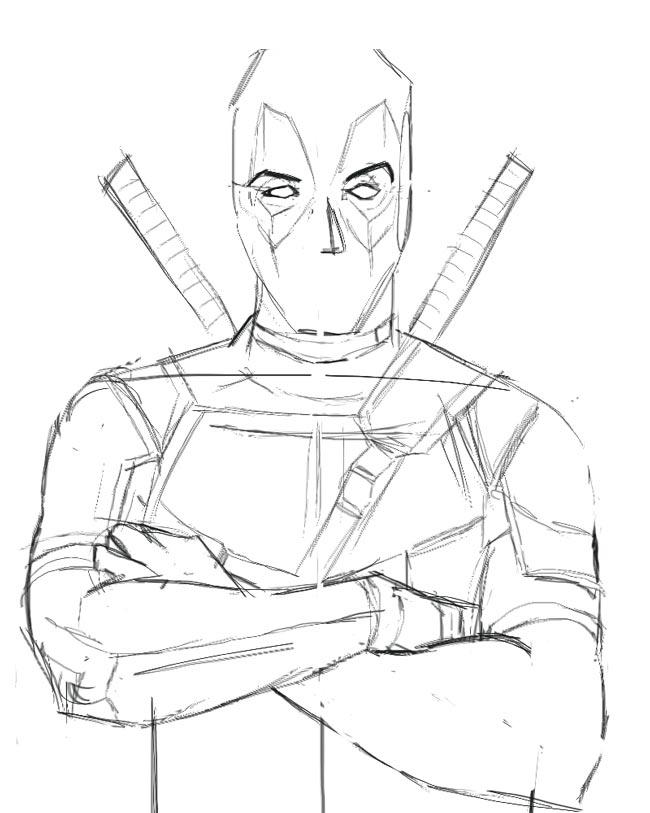 11. The drawing is almost ready. Now we mark and shade the shadows on the head and torso to make the figure voluminous and “tear off” it from the plane of the sheet.

 12. If desired, you can shade or shade the black parts of the suit darker.
Lesson Author: RoseAlba
Leave a Reply